iPhone Screen Repair Cost in India
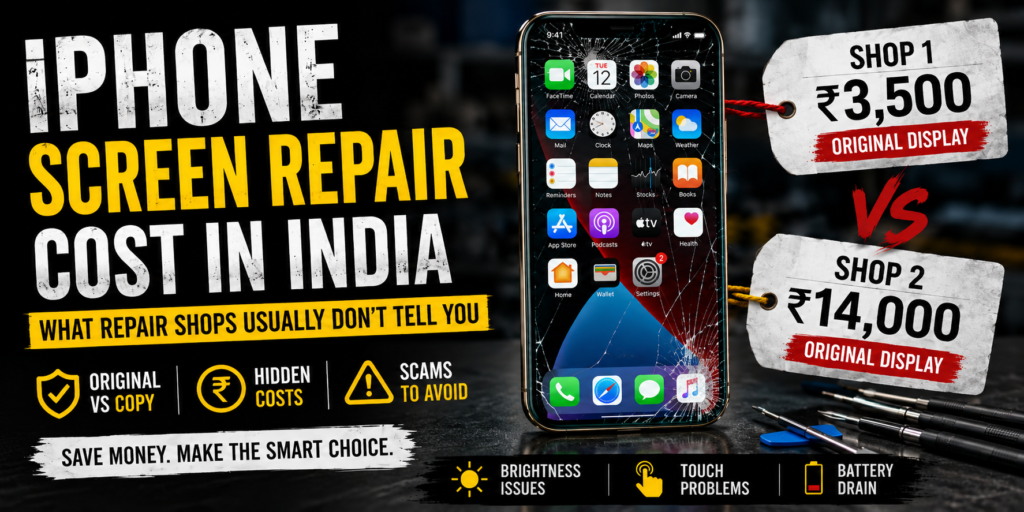
iPhone Screen Repair Cost in India Most people don’t panic the moment their iPhone falls. The real panic starts a few minutes later… when they begin asking repair shops for prices. One shop says: “₹3,500.” Another says: “₹14,000.” And somehow both confidently say: “Original display, sir.” That’s the moment people realize they have no idea what’s actually happening. Because most of us are not display experts. We don’t understand OLED panels, touch ICs, refresh rates, or screen quality. We just want the phone to feel normal again. But the iPhone repair market in India is confusing. Sometimes intentionally confusing. And because iPhone Screen Repair in India is still largely an unorganized market, pricing and quality can vary massively from one repair shop to another. And that’s exactly where many people make expensive mistakes Not because they are careless. Because they simply don’t know what they’re paying for. Why the same repair gets completely different prices ? The biggest misunderstanding people have is this: They think there is only one type of iPhone screen. There isn’t. That’s why one shop can quote ₹4,000 while another asks ₹15,000 for the “same repair.” Because the quality behind those repairs may be completely different. At first, many screens look similar. The phone turns on. Touch works. Everything feels okay. But after a few days, small problems start showing up. The screen suddenly feels dull the moment you step into sunlight. Scrolling doesn’t feel smooth anymore. Battery drains faster. The phone heats more than usual. Sometimes ghost touch starts. And suddenly that “cheap repair” doesn’t feel cheap anymore. The strange part is: most duplicate displays don’t fail immediately. They fail slowly. That’s why so many people get trapped. The truth behind the word “Original” If you visit five repair shops, at least four of them will probably say: “Original display hai.” But in the repair market, the word “original” is used very loosely. Sometimes it’s genuine. Sometimes it’s half true. Sometimes it’s just marketing. In reality, there are usually three kinds of displays in the market. 1. Genuine Original Displays These are the closest to what your iPhone originally had. The colors feel natural, brightness stays strong, and touch response still feels smooth, which is why original displays feel different in daily use Battery performance stays normal. Basically, the phone still feels like an iPhone. But these displays are expensive. That’s why official service centers charge so much. A lot of people get shocked seeing Apple repair prices. But part of that price is consistency and quality control. 2. OEM Displays OEM displays are designed to feel as close to the original iPhone experience as possible without paying full official Apple replacement prices. A good OEM display usually offers: smooth touch response, decent brightness, better color quality, and more reliable performance compared to cheap duplicate screens. This is why many experienced technicians recommend OEM displays for users who want a balance between: quality, affordability, and long-term usability. For many people, OEM becomes the practical middle-ground option. Not too expensive. Not too risky. And usually far better than low-quality copy displays that often create problems later. 3. Refurbished Displays Refurbished displays are different because they often start as genuine original iPhone screens. For example, sometimes the outer glass breaks but the actual OLED panel inside is still perfectly fine. Instead of replacing the entire display, technicians repair the damaged layer and restore the original screen. That means many refurbished displays still contain genuine Apple components internally. And honestly, a well-refurbished display can perform extremely well in daily use. In some cases, normal users may not even notice a major difference compared to the original display experience. That’s why many skilled technicians trust good refurbished panels more than cheap aftermarket replacements. For users who want: original-like feel, decent pricing, and lower risk, a properly refurbished display is often one of the smartest repair choices available. 4. Duplicate or Copy Displays This is where repair prices suddenly become “too good to be true.” And honestly, sometimes they are. Cheap displays usually compromise somewhere: brightness, touch quality, durability, battery efficiency issues that slowly make the phone die faster than before. heating control. Some copies are decent. Some are terrible. The problem is not that duplicate displays exist. The problem is that customers are rarely told clearly what kind of display is actually being installed. That lack of transparency is where most frustration begins. Why cheap repairs sometimes cost more later A lot of people choose the cheapest option because in the moment it feels logical. Why spend ₹12,000 if another shop is offering repair for ₹4,000? Fair question. But what many users realize later is: a poor-quality display changes the entire experience of using the phone. Typing feels strange. Scrolling loses smoothness. Outdoor visibility becomes annoying. Battery backup worsens. And over time, people stop enjoying the phone they originally paid so much for. Then eventually they repair it again. Which means they pay twice. Apple Service Center vs Local Repair Shops This debate never ends. And honestly, both sides have pros and cons. Apple Authorized Service Centers The biggest advantage is peace of mind. You know: parts are genuine, repair standards are proper, compatibility issues are less likely. But the downside is obvious: the pricing can feel brutal. Sometimes the repair cost feels so high that people start wondering if buying another phone makes more sense. Especially with newer iPhones. Local Repair Shops This is where things become unpredictable. Some local technicians are genuinely skilled. They do excellent work for fair prices. Others focus only on quick profit. That’s why choosing the technician matters more than choosing the shop’s decoration or branding. A fancy-looking store does not automatically mean honest repair quality. And a small repair shop does not automatically mean bad work either. Experience matters. Transparency matters more. How to avoid getting fooled during screen replacement Most scams in repair markets don’t look like scams immediately. That’s what makes them work. Here are a few simple