
Author name: iphoneexpert

How to fix Error 9?

How to fix Error 9?

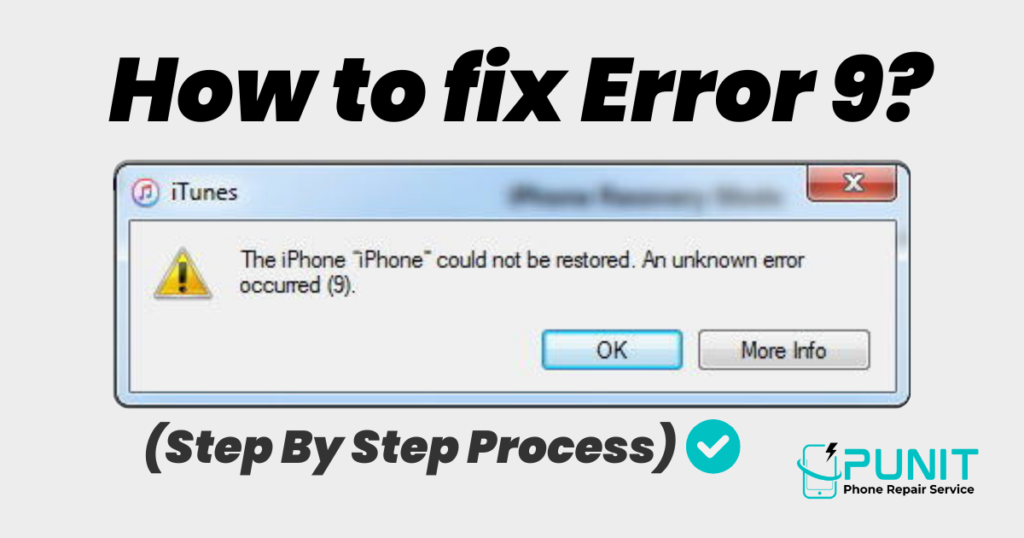
How to fix Error 9? (Step By Step Process) Apple frequently rolls out iOS updates for the iPhone. Recently Apple rolled out a new iOS update and many people were finding it difficult to upgrade their iOS. Most people faced error 9 on iPhones, what is error 9 and why you’re facing this issue and how can you fix it; if you are having similar questions this kind of will help you. You might have received the notification that your iPhone or iTunes has a new update for you, so you decided to upgrade your iPhone. Many iOS device users faced an error 9 issue. Though, it’s better to contact a professional such as Punit telecom, (what Makes Punit Telecom Best) for the best iPhone repair. If you are living in Noida, all you need to do is search for iPhone repair near me and you will find Punit telecom in Noida, or you can type directly Punit Telecom. However, if you want a quick fix, you can check these.   Let’s find out about error 9.   What exactly is error 9? Error 9 is an updating issue that occurs when you are updating an iPhone via iTunes. So, we cannot get to the bottom of what exactly is the error or what is the code issue, but you can understand that when it comes to updating your iOS if you are facing error 9 it means your device will be useless for a few hours or lifetime until you cannot fix it. For an instant iPhone error 9 solution, follow these steps. Understand: Why does error 9 on iPhone or iTunes occur?  Error 9 iPhone via iTunes occurred due to the following reasons: Your cable or USB port is damaged. You have corrupt network settings. Your security software is preventing the access to Apple Server You have jailbroken your iPhone You have damaged the motherboard of your iPhone. What are the ways to fix iPhone 9 errors? Fear Facing iPhone 9 Error These are some of the basics that you can try to fix: Reboot the system: this might be untreated, but it is one of the best options you can do to fix your iPhone instantly. Reboot and restart your iPhone. You might see many changes that might be frustrating, but it will be worth it as you can fix your problem. Put your iPhone in recovery mode: to put your iPhone 8, 8 plus, or x in recovery, you need to follow these steps: You need to press & release the volume up button followed by the volume down button. Press and hold the side button until you connect your screen to iTunes or the Apple logo appears. Once you see the Apple logo on the screen your iPhone is in recovery mode It will update and restore so you can install iOS. Try to update again: if your iPhone or iOS device is disconnected during the update or restore you will be receiving a message ” the iPhone could not be stored, and an unknown error occurred (9). ” if you receive this message on your iPhone screen while updating, follow these steps for a quick fix: Make sure that your Mac has the latest version of Mac OS or iTunes. Force restart your device: For iPhone 8, X, XS, XR, XS Max, 11,11Pro, or modern users: press and release the volume up button followed by volume down press and hold the side button till you see the Apple logo. For iPhone 7 users: present holds both side buttons or the top button and the volume button together until you see the Apple logo. Now connect the device to the computer or Mac using a USB cable. Find your device on the computer. You will see two options- one is to update or restore. Click on update not on restore to reinstall the software and keep your personal data intact. You can implement these above-mentioned steps to fix your iPhone for error 9. If even after following these steps, you are still getting error 9 it is better if you contact a professional. Dealing or playing with error 9 can cause you to lose your crucial data. An export can help you restore your phone instantly or fix it with the previous version. We at Punit telecom, the best iPhone repair in Noida can help you fix your iPhone effectively. Our experts understand different types of errors, we will ensure you get your iPhone back safely with data.
How to fix Error 9? Read More »

4 Steps to Solve your iPhone Charging Problem on your own.

4 Simple Steps Solution to Fix Your iPhone Charging Problem on your own.

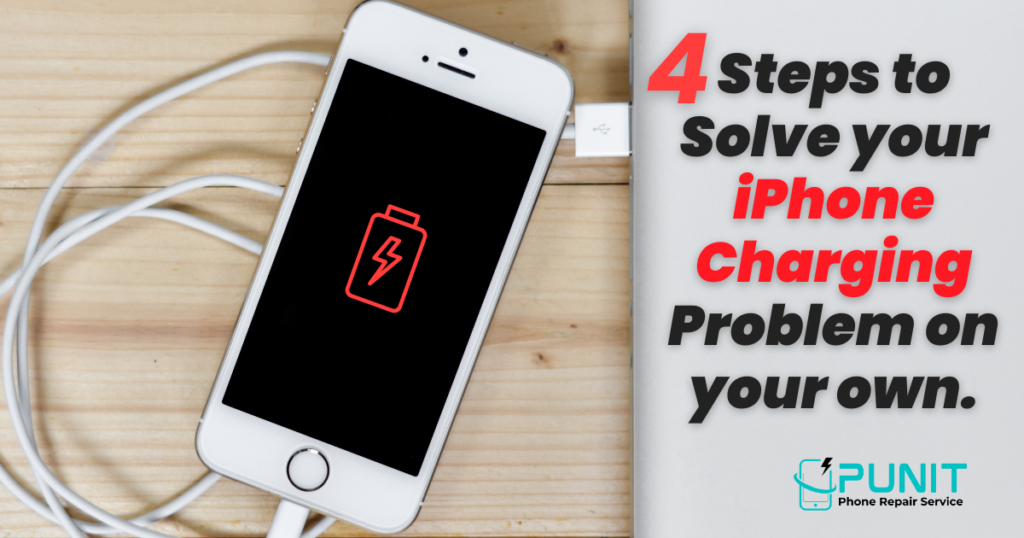
4 Simple Steps Solution to Fix Your iPhone Charging Problem on your own. The Apple iPhone is one of the most popular phones in the market. It has a beautiful design, a fantastic camera and one of the best displays. However, there is one problem with this device that often frustrates users – it doesn’t charge well. There are many reasons why your phone might not be charging as fast as it should. One of them is because you have too many apps running in the background that are consuming battery power and preventing your phone from charging. Another reason might be that you have a case on your phone which prevents the charger from connecting to it properly, or there could be dust or debris on your charging port blocking it from connecting to the charger correctly. Identifying the problem: There are many reasons for the damage to your iPhone Charging. It can be because of water, any kind of liquid, or some other reason. Don’t Worry, you can fix the Problem in 2 Ways. The first is the External way. The second is the internal way. In an External way you need to follow the below 4 steps and after following these steps problem still occurs then you need to follow step two. you might need an Apple expert and a good Service Centre to handle extensive damage to your iPhone. But before you go to a Service Centre, Follow the External Way the first one. in this method you can fix the Charging Problem on your own. these steps might help. Step No.1 Check Battery Health: One of the most important features of an iPhone is its battery life. Battery health is a vital component to ensure that your phone will be able to last you throughout the day. As with any other device, there are many ways to check your battery’s health. A good way to start checking your battery’s health is by looking at the time it takes for your phone to charge. If it takes longer than usual, then you may have a problem with your battery. Another way is by looking at how much power you have left on your device. This can be done by clicking on the “Battery” icon at the bottom right of your screen and then scrolling down and looking at the percentage next to “Battery”. If this percentage is below 50% or if it has been below 50%   Step No.2 Check the Lightning Cable or Adaptor: Did you check your iPhone’s lightning cable or adaptor? you know that you could be using the wrong lightning cable or adaptor for your iPhone? If so, then it might be time to update. Incorrect cables or adapters can cause serious damage to your device which is why you need to make sure that yours are compatible. Based on our diagnosis, it seems like your lightning cable or power adaptor is damaged or cracked from the inside. That was a wise choice for you because upgrading to a new lightning cable or power adaptor will only cost you money in this case. Step No.3 Check Back Cover issue: Some cases are designed to protect your phone. But they can also block the lightning cable or adapter. That is why you should be mindful of that and make sure that it doesn’t happen. If it does, remove the case before charging your phone. Step No.4 The charging port becomes loose Due to dust: The charging port becomes loose Due to dust is a problem that affects a lot of people. This is because the charging port is usually not covered by the case and it’s easy for dust to get inside. There are many reasons for this issue, but one of the most common causes is that people often use their iPhones while they are charging them. This can lead to the accumulation of dirt and other debris in the charging port, which will eventually cause it to become loose. This is a common issue that many iPhone users have faced. The charging port becomes loose due to dust and it no longer charges the phone. Fixing this issue is a bit tricky as you need to take the phone apart and clean it thoroughly. You can use compressed air or a vacuum cleaner to get rid of the dust from inside the charging port. You can also try spraying some alcohol on a cotton swab, paper towel or Brush and wiping out any dust particles that are stuck in there. If you’re having iPhone troubles and can’t fix them on your own, then it’s time to Follow the Internal Way the Second Method and find the nearest iPhone expert to you in Noida, Delhi, Greater Noida  and Ghaziabad. We offer all sorts of services including repairs. Give us a call or visit our website to get in We are your trusted source for all iPhone repair services. We specialize in repairs, replacements and upgrades. Our expert technicians will diagnose and fix any issue you might be having with your iPhone. Call us today to get a free estimate or visit our website to book an appointment online. Call Now  70421 03800

4 Simple Steps Solution to Fix Your iPhone Charging Problem on your own. Read More »

Scroll to Top