Phone Repair Guide

How to Fix iPhone 15 Pro Max SIM Card & Network Problems

How to Fix iPhone 15 Pro Max SIM Card & Network Problems

How to Fix iPhone 15 Pro Max SIM Card & Network Problems (No Service, Invalid SIM, Searching). Step by Step Guide If you are experiencing issues with the SIM card or cellular network on your iPhone 15 Pro Max, such as showing “no signal,” “no SIM,” “invalid SIM,” or being “stuck on searching” for a SIM, there are several troubleshooting steps you can undertake. This guide demonstrates SIM card and network fixes using an iPhone 15 Pro Max. The solutions range from basic software resets to more in-depth diagnostics, providing a comprehensive guide to restoring your device’s connectivity. Initial Troubleshooting Steps: Refreshing Network and Device. The first set of solutions focuses on quickly refreshing your iPhone’s network connection and system processes, which can often resolve temporary glitches. Toggle Airplane Mode:     ◦ This is often the simplest and quickest first step to refresh your cellular network.     ◦ Swipe down from the top-right edge of your iPhone screen to bring up the Control Center.    ◦ Turn on Airplane Mode.     ◦ Keep it on for a while.     ◦ After a brief period, turn Airplane Mode back off.     ◦ This action aims to refresh your cellular network and potentially fix the issue.     ◦ However, if your SIM remains “stuck on searching” or subsequently displays “no service,” you should proceed to the next step.   Restart Your iPhone:     ◦ A full device restart can resolve various temporary software conflicts that might be affecting your SIM or cellular network.     ◦ To restart your iPhone 15 Pro Max:         ▪ Press the Volume Up button.         ▪ Immediately after, press the Volume Down button.         ▪ Then, keep holding the Power button.         ▪ Continue holding it until you see that the screen turns off.         ▪After a moment, the Apple logo will appear, showing that your iPhone is restarting.     ◦ Once your device has restarted and you unlock it, check if your iPhone can now detect the SIM or connect to the network properly. SIM-Specific Troubleshooting: Physical vs. eSIM Depending on whether you use a physical SIM card or an eSIM, the troubleshooting steps vary to address potential issues with the SIM itself.   For Physical SIM Users:     ◦ If the issue persists, the problem might be with the physical SIM card’s placement or cleanliness.     ◦ You should eject the SIM card from its tray.     ◦ Then, clean it properly. This helps remove any dust or debris that might be preventing a good connection.     ◦ After cleaning, insert it back again. Ensure the SIM card is correctly seated in its tray and properly inserted into the iPhone.   For eSIM Users:     ◦ Given the digital nature of an eSIM, the steps are different.     ◦ Turn the eSIM off first, then reactivate it to refresh the connection. This acts as a digital refresh for the eSIM profile.     ◦ If that does not resolve the problem, and if possible, you can delete the eSIM and activate it again. This effectively re-downloads and reactivates the eSIM profile, which can resolve corrupted data or connection issues. Checking Content and Privacy Restrictions Sometimes, iPhone settings designed for content management can inadvertently interfere with cellular network functionality. The source indicates that content restrictions, if enabled, can cause conflict with the SIM network. To check these settings:     ◦ Open Settings.     ◦ Go to Screen Time.     ◦ Head into Settings, then tap on “Content & Privacy Restrictions” to access it.     ◦ Within this section, check if you have disallowed anything related to cellular data changes.     ◦ You can then either manually allow the restricted items or turn off “Content & Privacy Restrictions” altogether to ensure no restrictions are impeding cellular service. Resetting Network Settings If previous steps haven’t worked, resetting the network settings can often resolve more persistent issues by clearing all network configurations and starting fresh. To perform a network settings reset:     ◦ Open Settings.     ◦ Go to General.     ◦ Scroll the menu and choose ‘Transfer or Reset iPhone’ to continue.     ◦ Select “Reset”.     ◦ Choose “Reset Network Settings” from the menu. To continue, enter your passcode when prompted.     ◦ You might be prompted to enter your passcode before proceeding.     ◦ After entering the passcode, tap on “Reset Network Settings” again to confirm. It’s important to note that after resetting, you will need to reconnect to your Wi-Fi networks again, as all saved Wi-Fi passwords will be cleared. This step only resets network-related settings and does not delete personal data or media. Advanced Diagnostics and Seeking External Support If, unfortunately, even after resetting network settings, your SIM is still not showing or not working, the problem may lie beyond simple software or configuration issues, necessitating further diagnosis to determine if the fault is with your iPhone hardware or the SIM card itself.   Test Physical SIM in Another Device:     ◦ In the case of physical SIM cards, a crucial diagnostic step is to take out the SIM again and insert it into another device.     ◦ This allows you to see if that SIM card works on the alternative device.     ◦ If the SIM works on other devices, this indicates that your iPhone may have physical damage affecting its SIM reader or cellular components. This points to an internal hardware issue with your iPhone.     ◦ In this situation, you should contact Apple Support. You can use the Apple Support app to do so and then await further instructions from them.   Contact Your SIM Provider:     ◦ Conversely, if the SIM isn’t working on any device – meaning it doesn’t function in your iPhone 15 Pro Max or the alternative device you used for testing – then the problem is likely with the SIM card itself or with your cellular service provided by the carrier.     ◦If the problem continues, the next step is to contact your SIM provider. They will be able to investigate the issue with your SIM card or service plan and fix it for you.   If you are still facing SIM, network, or Wi-Fi issues on your iPhone 15 Pro Max pr any iPhone

How to Fix iPhone 15 Pro Max SIM Card & Network Problems Read More »

Flip 4 Hinge Flex Repair Cost

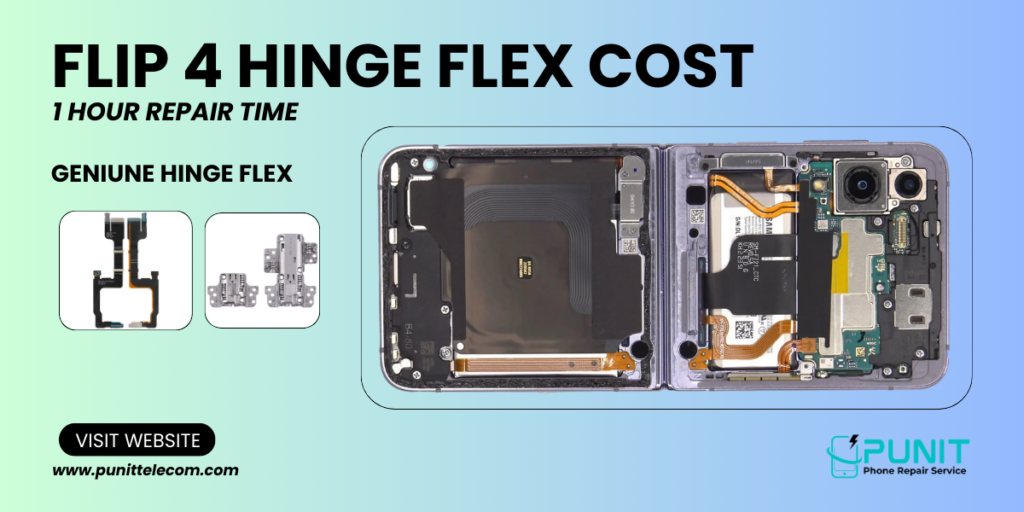
Flip 4 Hinge Flex Repair Cost: Price, Process & Best Service Options The Samsung Galaxy Z Flip 4 is one of the most stylish and innovative phones on the market, thanks to its foldable design. However, with this unique design comes the challenge of maintaining the hinge mechanism, which can sometimes face issues over time. If you’re facing problems with your Flip 4’s hinge flex, you might be wondering about the repair cost. In this article, we’ll break down everything you need to know about the Flip 4 hinge flex repair cost, including the factors that influence it and tips for getting the best deal. What is the Flip 4 Hinge Flex? The hinge flex is a crucial part of the foldable mechanism in the Galaxy Z Flip 4. It allows the phone to open and close smoothly while maintaining the structural integrity of the device. Over time, however, the hinge may suffer from wear and tear, which can impact the phone’s performance. The Flip 4 hinge flex repair involves fixing or replacing the flex cable that connects the hinge to the main body of the phone. Problem: When you flip the phone, it may turn off, or you might notice display flickering, color changes, or sometimes even a green tint appearing on the screen. Solution: We replaced the hinge flex to restore the phone’s functionality and smooth operation. What is the Flip 4 Hinges? The Flip 4 hinge is what makes your Samsung Galaxy Z Flip 4 so cool and unique – it’s the mechanism that allows your phone to fold and unfold, giving it that sleek, compact design. Inside, there’s a system of gears and flex cables working together to ensure your phone opens and closes smoothly every time. However, just like anything that gets frequent use, the hinge can wear out over time, which may lead to issues with the screen or the phone’s overall functionality. Taking care of the hinge is crucial to keeping your phone in top shape and ensuring it continues to flip smoothly for years to come. Problem: Your Flip 4 may not open properly, only reaching 80% to 90% of its full range. Solution: In this case, we need to repair or replace the hinge. After the repair, your phone will open 100% perfectly, just like new. How Much Does Flip 4 Hinge Flex Repair Cost? The repair cost for a Samsung Galaxy Z Flip 4 hinge flex can vary based on several factors, such as the location of the repair shop, the quality of parts used, and whether you’re opting for a third-party service or an authorized Samsung repair center. Authorized Samsung Service Centers: Repairing your Flip 4’s hinge flex through an authorized Samsung service center will generally cost more. Expect to pay between ₹8,000 to ₹12,000, depending on the extent of the damage and warranty status. Third-Party Repair Shops: If you choose to go to a local repair shop, the cost can be more affordable. A typical third-party repair service might charge between ₹5,000 to ₹7,000. However, the quality of service and parts can vary, so it’s important to ensure the repair shop uses reliable parts. Repair by Punit Telecom: At Punit Telecom, we offer a professional Flip 4 hinge flex repair service for just ₹3500. Our technicians are experts in foldable phone repairs, ensuring that your device is repaired with high-quality parts at an affordable price. Factors Affecting Flip 4 Hinge Flex Repair Costs When it comes to Flip 4 hinge flex repairs, a few things can influence how much it’ll cost. Let’s break it down: Warranty Status: If your Galaxy Z Flip 4 is still under warranty, you might be able to get the repair done at a lower cost or even for free, depending on the type of damage and what your warranty covers. Location: Repair costs can vary based on where you live. Cities like Noida or Delhi tend to have higher prices compared to smaller towns or rural areas because of higher labor costs and overheads. Parts Used: Genuine Samsung parts usually cost more than third-party alternatives. While third-party parts can save you money, it’s important to consider the trade-off in quality to avoid affecting your phone’s performance. Repair Shop Reputation: The reputation of the repair shop matters too. Well-established shops may charge a bit more, but they’ll often provide better quality repairs and might even offer a warranty on their work. Engineer’s Experience: The skill of the engineer plays a big role in repair costs. Experienced engineers know the ins and outs of the Flip 4’s folding mechanism, ensuring the repair is done right and lasts longer. Their expertise might come at a higher cost, but it’s worth it for a reliable, lasting fix.   How to Save on Flip 4 Hinge Flex Repair While it’s tempting to go for the cheapest option, here are some tips to help you save on Flip 4 hinge flex repair without compromising on quality: Compare Quotes: Always get quotes from multiple repair shops. This will give you an idea of the standard repair costs in your area, helping you avoid overpaying. Check Warranty: If your Flip 4 is under warranty, check if hinge flex repair is covered. Many repair services offer free or discounted repairs for customers who are still covered. Repair in Front of you: At Punit Telecom, we offer a Repair in Front of You service, so you can watch your phone being repaired by our skilled engineers. This transparent process ensures you know exactly what’s happening, giving you peace of mind that your device is in expert hands. Plus, you can ask questions and learn about the repair as it happens. Don’t Delay Repairs: A small hinge issue can worsen over time, leading to higher repair costs. Address the problem as soon as you notice it to avoid expensive fixes later on. Why Choose Punit Telecom for Flip 4 hinge Flex Repair Services? When it comes to your Galaxy Z Flip 4, don’t

Flip 4 Hinge Flex Repair Cost Read More »

Scroll to Top